
Does the term Digital Planner sound familiar? In November 2018, my physical planner’s journey shifted completely from pen and paper to digital planning.
The PDF annotations apps available on the market helped me make the change, so in a matter of days, I turned my physical planner into friendly digital planners and digital products that received a lot of reviews from my

What is a digital planner (PDF file)
A digital planner is nothing else but a PDF file with (or without) hyperlinks. However, having the PDF is not enough. You will also need a particular app installed on your iPad that will magically turn this PDF into a fully functional digital planner. These apps are called PDF annotation apps, and among my favorites are Noteshelf, Goodnotes 5, and Notability. Once you’ve imported the PDF planner inside any of these apps, you can write on it just like a normal paper-planner, and you can navigate it using the hyperlinks.
The digital planning toolbox
To get started, this is what you’ll need:
- An iPad with Apple Pencil support (my digital planners work well on all types of iPads)
- An Apple Pencil, for an excellent handwriting experience. If you don’t have an Apple Pencil yet, don’t sweet on it. Most of the PDF annotations apps have the TYPE feature that allows you to type your text using the iPad keyword.
- A PDF annotation apps for iOS – Below are 3 of the apps I recommend and a few information on how I use each:
- Basic knowledge of using the chosen PDF annotation app; once you get the basics, you’re good to go!
- You can find some great resources on my digital
planners youtube channel
- You can find some great resources on my digital
Basic steps to digital planning
Step 1: Import your planner
- Buy a PDF digital planner or get my free digital planner templates to start practicing
- Download the planner on your PC and save it to your dropbox.
- Go to iPad and follow these steps:
- In Noteself app, on the right side of the toolbar: Tap the + sign > Import Document > Dropbox (or tap More to turn on Dropbox) > Find and tap the PDF file saved in Dropbox > Hit Import > Wait for the document to download > Click to open it.
- In Goodnotes 5 app: Tap + New > Import > Dropbox (or tap Edit to turn on Dropbox) > Find and tap the PDF file saved in Dropbox > Wait for the document to download > Click to open it.
- In Notability app, on the right side of the toolbar: Tap the Import icon (the rectangle with an arrow pointing down) > Dropbox > Find and tap the PDF file saved in Dropbox > Tap the Create New Note button > Hit Import (on the top-right side of the pop-up window) > Hit Done > Click to open it.
Alternatively, you can open the PDF planner on your tablet in a browser window (Safari browser) > tap the Share icon (the rectangle with an arrow pointing up) > then Share to / Copy to your chosen app.

Step 2: Flipping pages
- In Noteshelf, use your fingers to slide horizontally on the iPad screen and flip the pages
- In Goodnotes 5, slide horizontally using your fingers or the Apple pencil. On top of that, you can tap the Apple pencil on the left edge or right edge of the screen to flip the pages.
- In Notability, slide vertically using your fingers, or use the Apple pencil to tap the up/down arrows on the bottom-right of the screen, for vertical scrolling the pages.
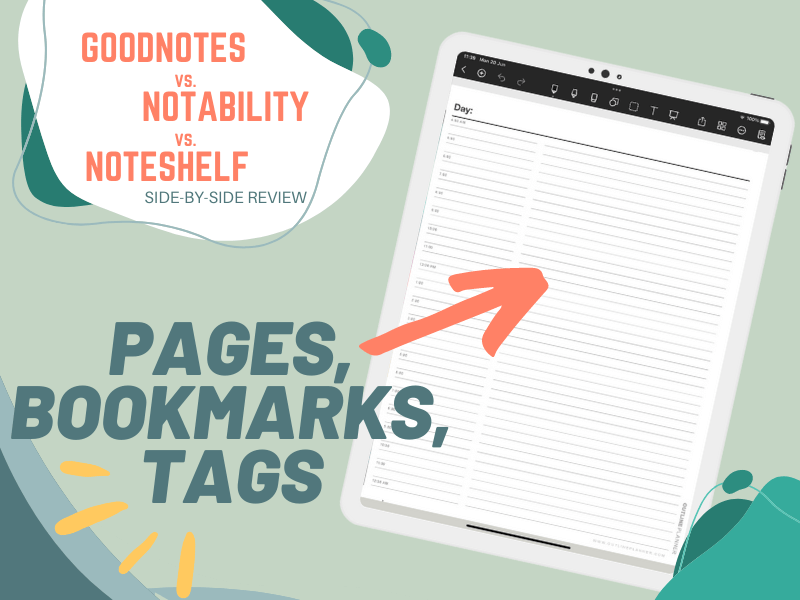
Step 3: Use the hyperlinks
- By default, in Noteshelf you should be able to click the links straight away, with no additional settings. However, if that’s not possible, you may want to do two things:
- Click the small Pen-in-a-circle image from the toolbar; the image illustrates a pen inside a crossed circle, and it’s the 5th icon on the toolbar (if you count from right to left)
- if the solution above does not work, try to re-import the planner once more (the links could get corrupted during the import process)
- In Goodnotes 5, there’s no doubt that if you’re going to use the hyperlinks, you MUST be in the reading mode. To enter the reading mode tap the Pen icon from the top right side of the toolbar (second icon from right to left)
- In Notability, you should be able to click the hyperlinks straight away, with no additional settings.

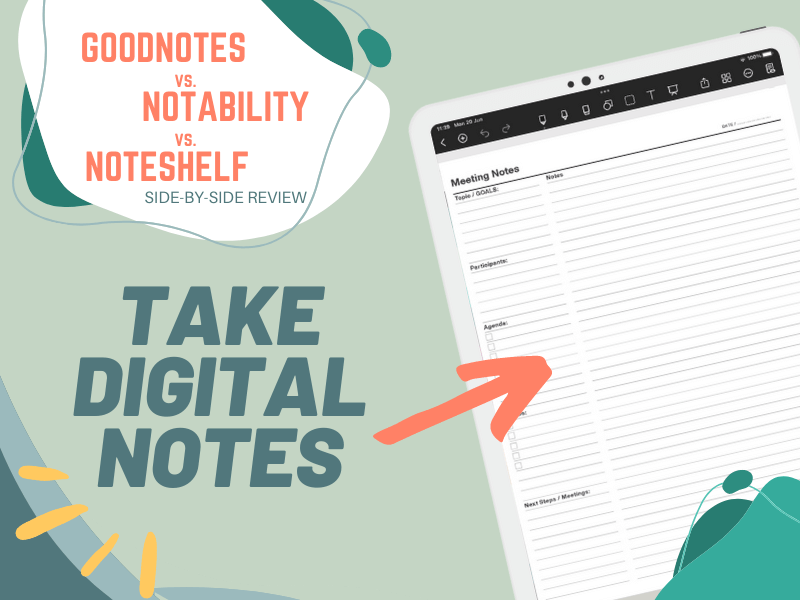
Step 4: Take notes on pages
Handwriting (using the Pen Tool)
Handwriting on the iPad is my favorite paperless experience. I get to write like on paper and have all my digital notes in once place.
- To start writing in Noteshelf tap once on the Pen icon (4th icon from left to right). Tap twice to pick a stroke size, to pick a new color, or to define your favorite colors. Tip: go to the Favorites section and enable Show Favorite Toolbar for quick access to your favorite pen and highlighters.
- In Goodnotes 5, tap the Pen icon from the top right side of the toolbar (second icon from right to left) to enter the editing mode. An extra toolbar will appear on the screen, so go ahead and tap on the Fountain Pen icon (second icon from left to right) to start writing. To change the stroke type and color, check the options displayed on the right side of this second toolbar.
- In Notability, tap the Pen icon once (4th icon from left to right) to start writing. Tap it twice to select your stroke type and color.
Typing (using the Text Tool)
I do not type in any of these apps since I prefer handwriting; however, if you don’t have an Apple Pencil, this feature will come in very handy.
- In Noteshelf, select the T shape icon (6th icon from right to left), then tap twice on any part of the page to start typing using your iPad keyword. To move the text around, tap it twice, then drag it to the new position.
- In Goodnotes 5, select the T letter inside a rectangle (7th icon from right to left), then tap once on any part of the page to start typing using your iPad keyword. To move the text around, tap it once, then drag it to the new position.
- In Notability, select the T shape icon (
3th icon from left to right), then tap once on any part of the page to start typing using your iPad keyword. To move the text around, tap it once, then drag it to the new position.
That is all you need to get started with a digital planner using Noteshelf, Goodnotes, or Notability. In time, you’ll do so much more with these apps, so start practicing today.

Q&A
How much does a digital planner PDF cost?
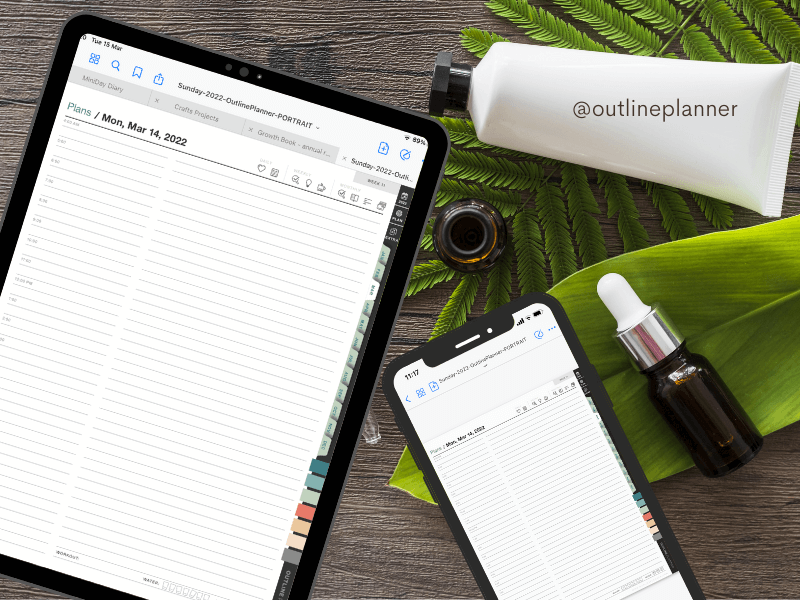
Based on your needs, you can find all sorts of FREE and PREMIUM digital products, from simple digital planner templates, to fully functional digital life planners, digital appointment books, digital hobbies books, and more.
If you’re new to this, practice on my FREE Digital Planner Template and upgrade to a premium digital planner when you feel ready.
A premium, high-quality digital planner from my digital
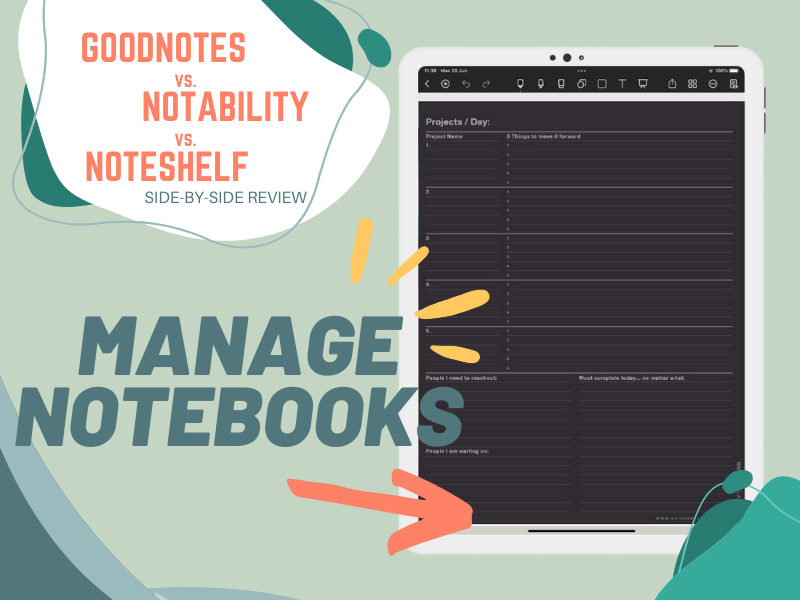
What else can you do with GoodNotes, Noteshelf or Notability?
Keep in mind that these are note-taking apps that let you take handwritten notes on the iPad. So, you can use it for schoolwork, journaling, talking meeting notes, proofreading documents, sketching ideas, and more.
Can you print or share your notes from GoodNotes, Noteshelf or Notability?
Yes, all 3 apps have the option to print the notes or to share them with your colleagues as PDF files. To be productive, I suggest to sync your notes to Evernote too and access them from all devices.
Eager to try it out?
Warning: it may get addictive to using these pdf planner templates
Let me know how you’re experiencing the transition to a paperless lifestyle. Talk to me in the comments below.


Leave a Comment